
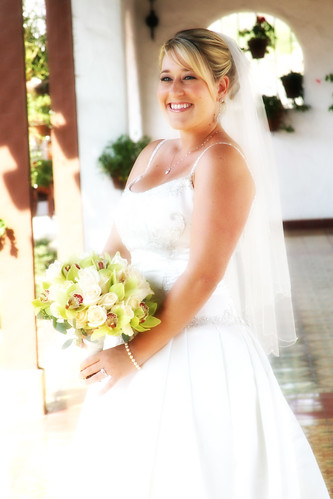
Here is the look I am going for:
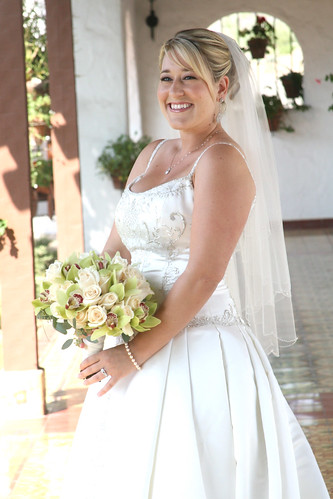
Here is my original photo:
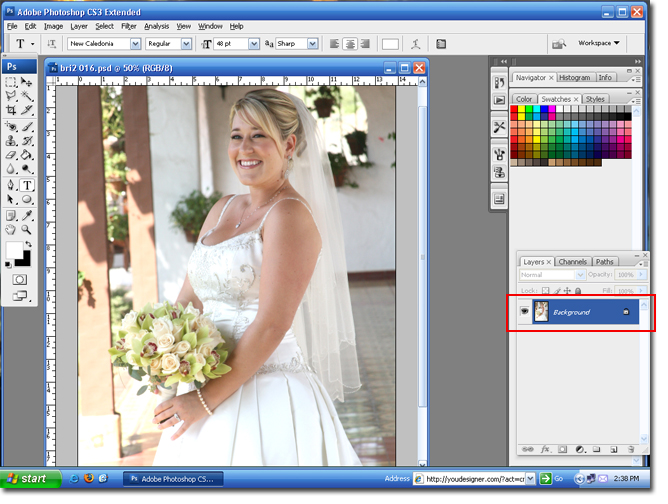
Step 1 Open your photo in Photoshop and duplicate the back ground layer by hitting Ctrl + J.
Step 2 Select the new layer (the one on top) an change the blend mode to Overlay.
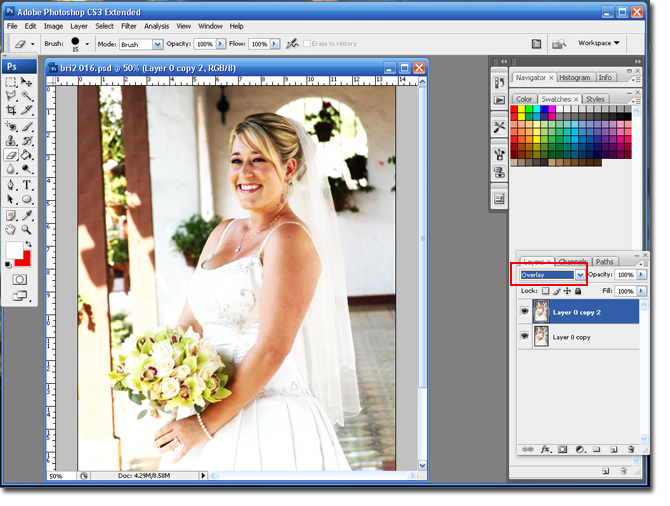
You can play around with the Blend Mode to get different results. I suggest trying a few. The ones I like best are; Overlay, Screen and Multiply. You can even do several layer modes together by creating multiple layers of the original layer and changing each layer to a new blend mode.
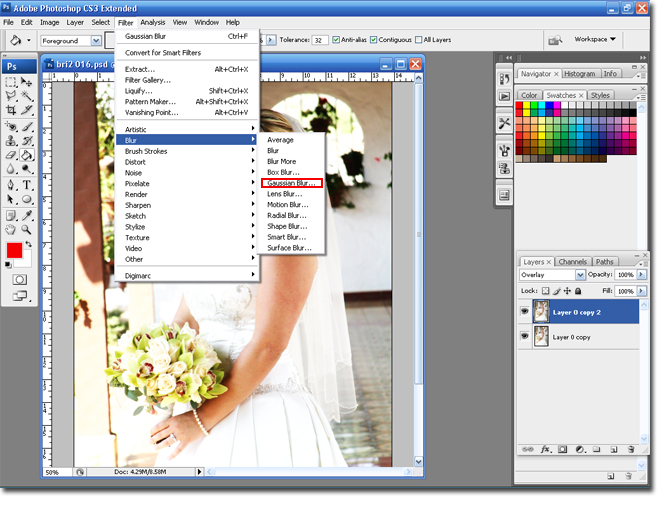
Step 3 Add a Gaussian Blur by going to Filter > Blur > Gaussian Blur.
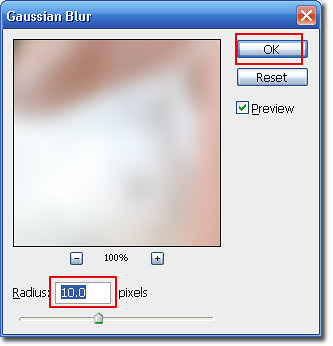
Step 4 Use the slider to select the amount of blur you want. For bigger photos you will need a higher number. I used 10. Make sure the Preview box is checked so you can see your results.
The next step is optional, but the results look much better.
Step 5 Select the Eraser tool and set it to a soft edge. You want the size to be close to the size of your eye in the picture. Then change the Opacity to around 30%.
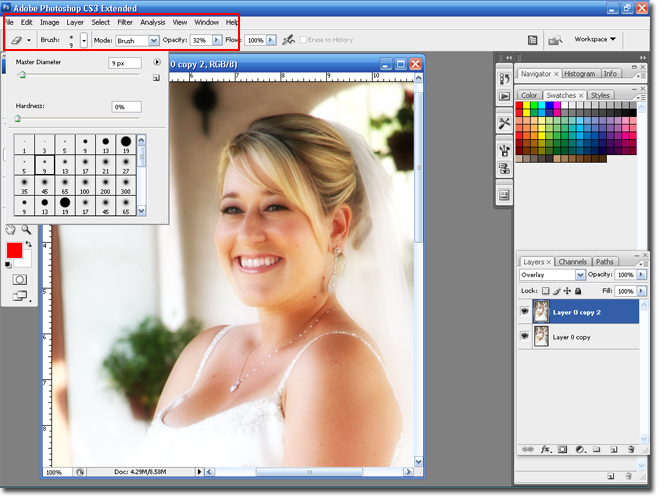
Step 6 I am going to click on the eyes, to lighten th blur effect. This adds more life to the eyes.

You are done! That was a pretty easy one, but with a really nice result. I hope you enjoyed the tutorial.
BriannaNichole!
3 comments:
hey! i found your wedding monograms blog on the knot, and then i found this blog. i am new to the blogging world so i love checking out other people's blogs. but i just got married in sept 07! anyways, i was looking to find out how to make a logo for my own business doing cards, invites, announcements, etc. and i love that you have tutorials on that and how to edit pics on photoshop! way cool.
Brianna I love all your blogs! you're too cute/funny!
Last time I left a msg on the OC Board and you told me you could probably help me w/some pics. I'm not quite up to technology so even though I love all things you do, I dont have any of the programs to create that...but I would like to send you some pics and maybe you can work with them? Let me know ok.
Hey Sweetnsassy. I would love to help you. Send me over the pics to my email: brianna.fabulous.morrow@gmail.com
Thanks for the compliments.
Post a Comment