
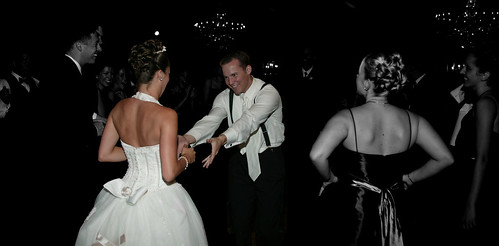
Today I wanted to show you a very popular style for pictures. I call it Spot color, but its more of a way to add some focus or an artsy element to a photo. I have mostly seen this effect on wedding photos, but you can do it on any kind of a photo. Here is the effect I am talking about:

If any of you have ever been on theKnot then you have for sure seen this picture.
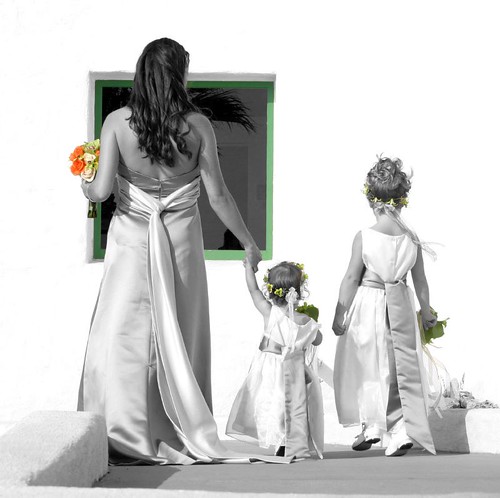
The effect is pretty simple. It basically consists of making a picture black and white and then removing the black and white from one section. This pulls your eye to the section with color. Its a nice artsy effect. Here is my original photo:
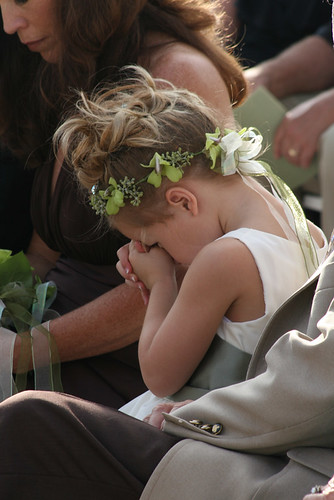
Here is the final result:

Step 1 Open the photo you wish to edit. Duplicate the background layer by hitting Ctrl + J.
Tip: I like to duplicate my background layer so I always have a copy of the picture that is unedited. That way if I make a mistake I can start over again.
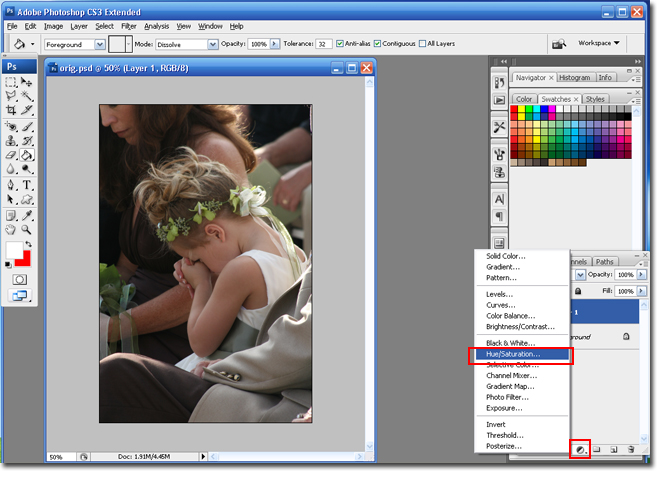
Step 2 Click on the New Adjustment Layer icon and select Hue/Saturation.
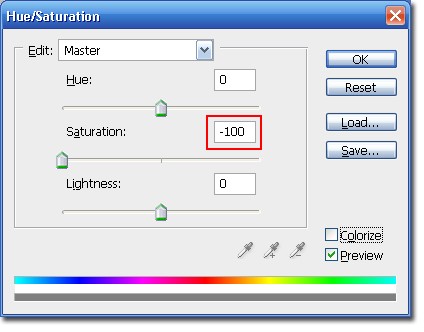
Step 3 Move the Saturation slider to the left until the box says -100. This will take all the color from your picture.
Alternative Step If you want your photo to have a warmer or sepia look you can check the Colorization box and play with the Hue and Saturation settings. This will not give as strong as a contrast to the color, but it is a nice look. If you have CS3 you can use a black and white adjustment layer instead of of desaturating the photo.
My picture is looking a little dull so I am going to add some more depth to it.
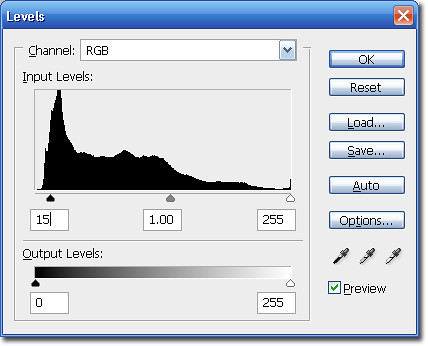
Step 4 Hit the L key on your keyboard. In the box to the far left enter in a number between 1-100. For my picture I used 15.
Step 5 Highlight the top layer and select the Paint brush tool from the tool box on your left. Choose a soft edge medium sized brush. Make sure the foreground color is set to Black.

Step 6 Start painting over the section you want to be in color. When you are finished you can change the foreground color to White and paint over what you want to be black and white.

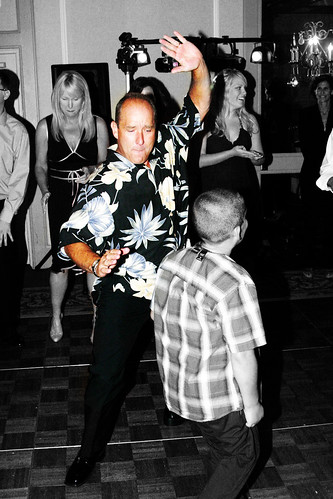
You are done! Here are some other pictures I have used this effect on.

Hope you found this tutorial helpful.
Hugs,
BriannaNichole!
4 comments:
I love these tutorials. I can't wait until I have photoshop and I can start using some of these!
Mr. Kate just got photoshop this week - I haven't seen him since
Thanks for these tutorials Brianna! You really are fabulous! I have had photoshop for years...and never knew how to work it.
By far the best tutorial to follow! thank you!!!!!
Post a Comment