
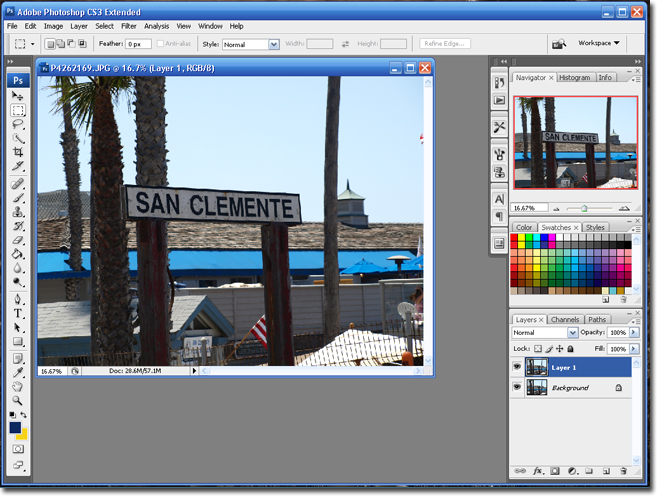
Step 1 Open your picture in Photoshop and duplicate the background layer: Ctrl + J.
* Note it is always good to have a backup of the original layer. Keep it for 'Just in Case' purposes.
Step 2 Go to Filter > Distort > Lens Correction.

Step 3 You are going to be using the two sliders under Vignette. Moving the Amount slider will control how light or dark the Vignette color will be. The Midpoint slider will effect how big the Vignette is. Play around with the sliders until you are happy with the result. Click Ok to save and apply your settings.

You are Finished!
Try using this tutorial with some of the others posted. You might really like the way they turn out.
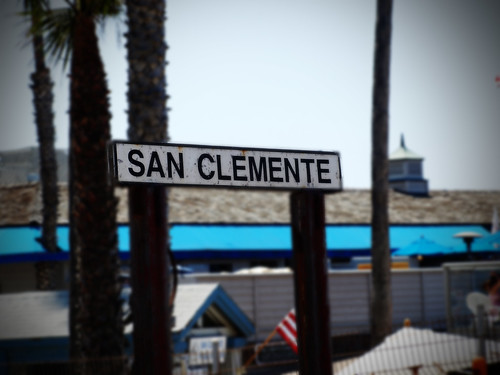 I added a blur to mine so you had more of a point of focus.
3 comments:
groovy
I love your tutorials! I use them! Some of the ones I've seen online are overwhelming, I like just learning one little thing at a time. Thank you!
Love It!!! Thanks so much! Now I just need to play around and update my blog with some great new pics... lol!
Post a Comment