
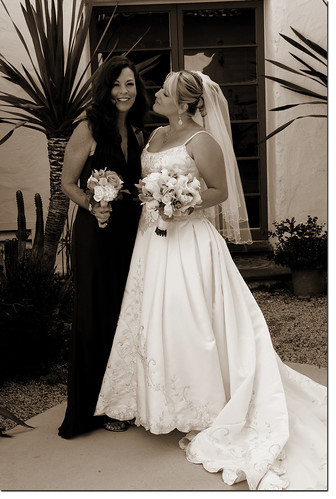
Here is the look that I am going for:

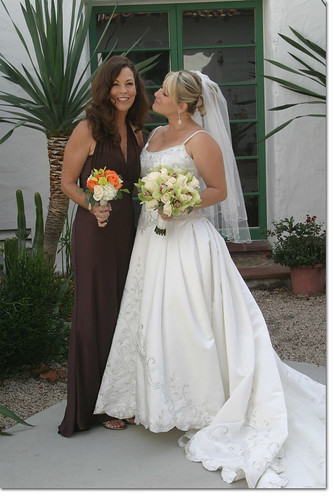
Here is the original photo:
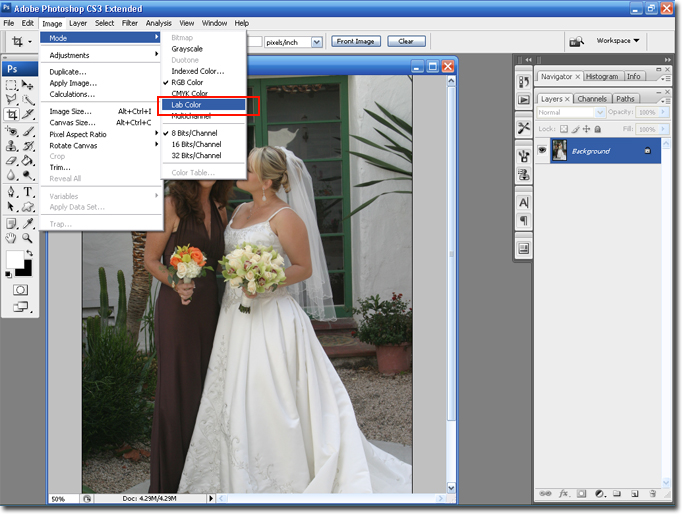
Step 1 Start by opening the photo that you wish to convert to sepia and change the mode to Lab Color: Image > Mode > Lab Color.
Step 2 In the Layers Pallet select Channels.
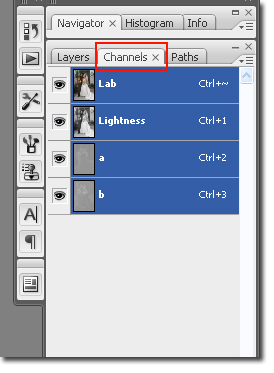
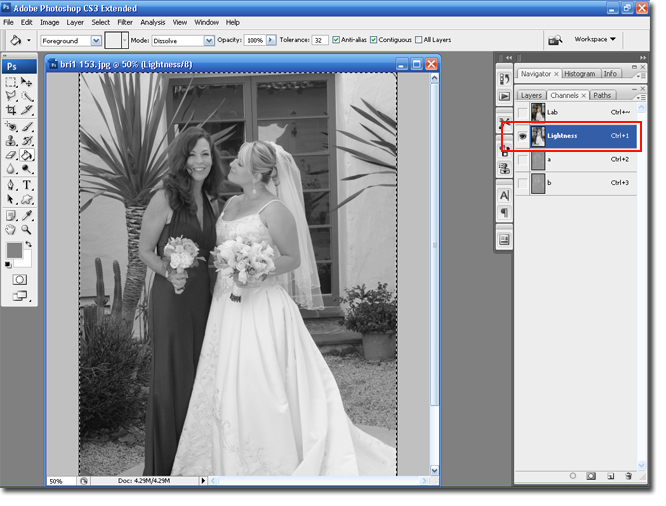
Highlight the Lightness layer. Select and cut the layer by clicking Ctrl + A and then Ctrl + C.
Step 3 Change the mode back to RGB: Image > Mode > RGB. Create a new layer by clicking on the New Layer Icon.
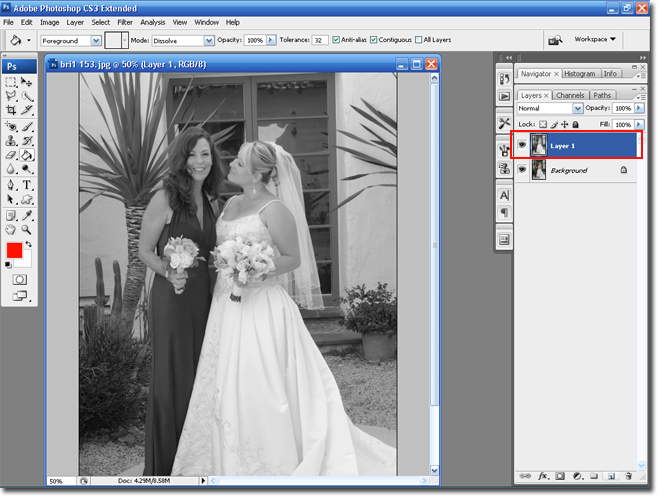
Step 4 Highlight the new layer and paste the Lightness Layer by hitting Ctrl + V. Your picture will now look black and white.
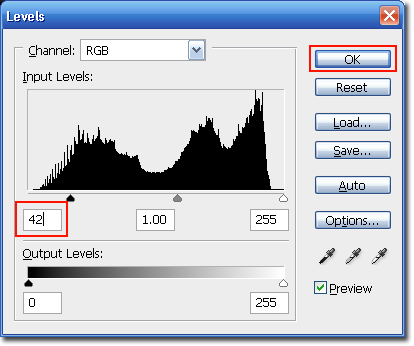
Step 5 Open the Level Adjustment by hitting Ctrl + L Change the first box to 42. Make sure to keep an eye on your picture to make sure you like the effect. Click OK when you are happy.
Step 6 Open the Hue/Saturation adjustments by hitting Ctrl + U. Select the Colorize check box. Move the Hue and Saturation sliders until you are happy with the settings.

You can come up with a lot of different sepia tones. We can stop here or we can make the picture more dramatic by adding some blending modes.
Hit Ctrl + J twice. Change the blend mode for the top layer to Multiply or Overlay. Change the second to top layers blend mode to Screen. Keep playing around with the blend modes until you are happy with the results.
Here is my photo with the Screen and Multiply blend modes added:
Hope you all enjoyed the new tutorial!!!
Hugs,
BriannaNichole!!