
There are a lot of ways you can convert a photo to black and white, in fact in Photoshop CS3 there is a handy new black & white conversion tool that will do all the work for you. In this tutorial I will show you some of the different ways to convert a photo to black and white, I will also show you my favorite way to convert a photo to B&W.
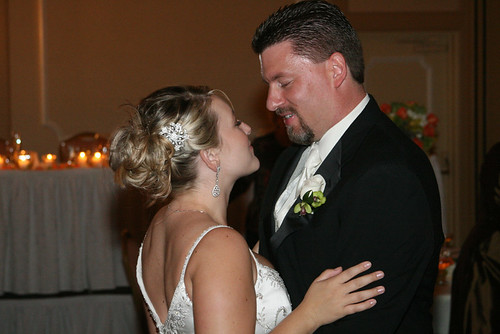
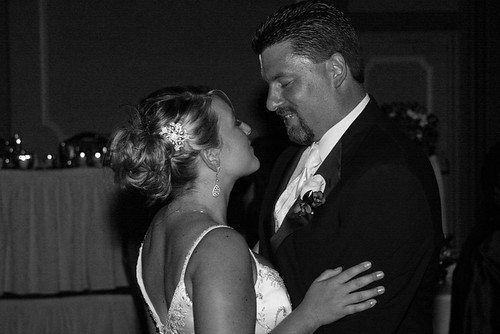
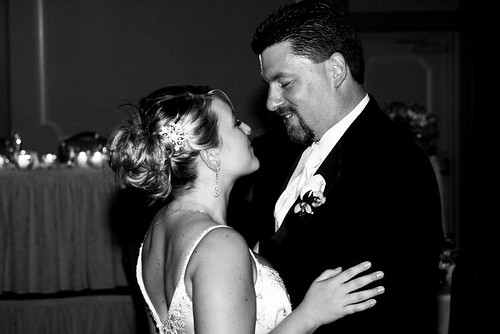
Here is the photo that I am going to start with.
Desaturate to Black and White
Desaturating a photo is a super easy way to convert a photo to black and white, but it also has the worst results. The photo ends up looking pretty dull, without much contrast.
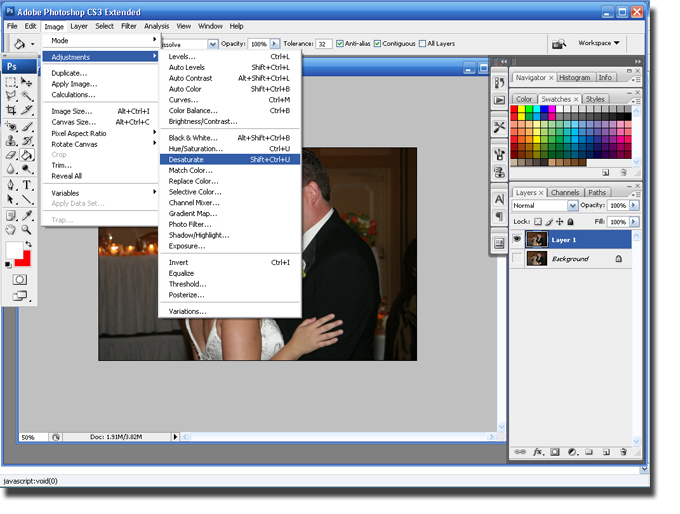
Step 1 Open the photo you want to edit.
Step 2 Go to Image > Adjustments > Desaturate.
Here is the result:
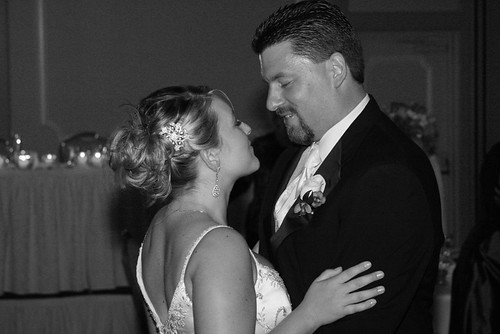
Notice there is not much contrast in the photo, it appears to look dull.
CS3 B&W Conversion Tool
Photoshop CS3 has a great new way to convert photos to black and white. I like using this tool, but most of the settings you really have to play around with to see what looks best with your picture.
Step 1 Open the picture you wish to edit and add a Black & White Adjustment layer.
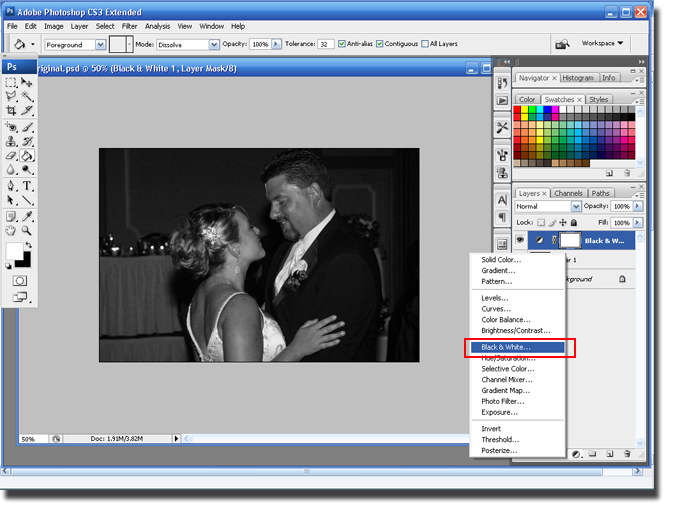
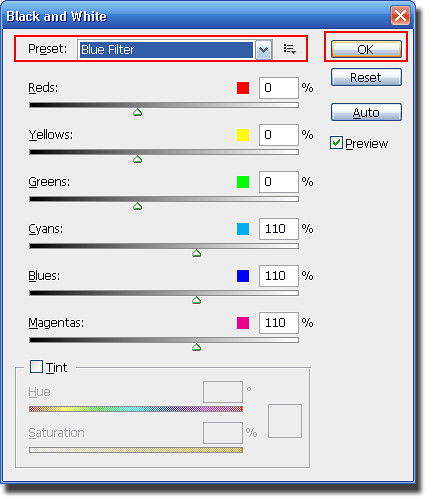
Step 2 Select the drop down menu and play around with the filters until you find one that looks good with the picture. Use the sliders to tweak the settings. When you are happy with the result click on the Ok button.
Here is the results:
Lightness to Black and White
This is my fav way to convert a photo to back and white. You get a lot of contrast by using the lightness layer annnnnnd you get a lot more warmth when you use the colorization step.
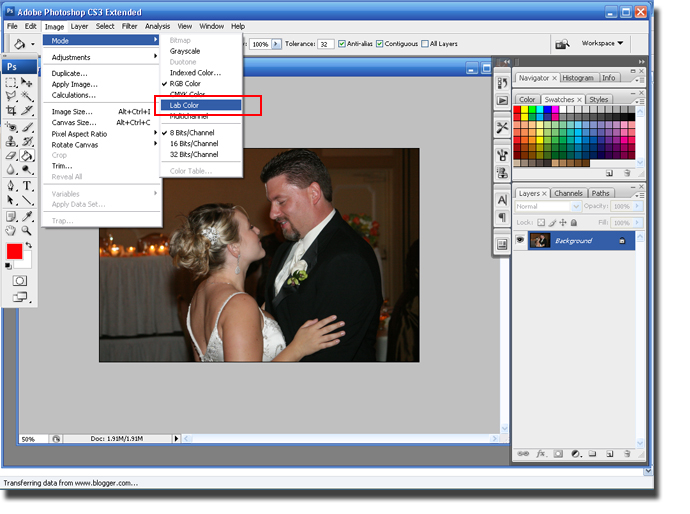
Step 1 Open the photo you wish to edit and convert the picture mode to Lab Color. Image > Mode > Lab Color.
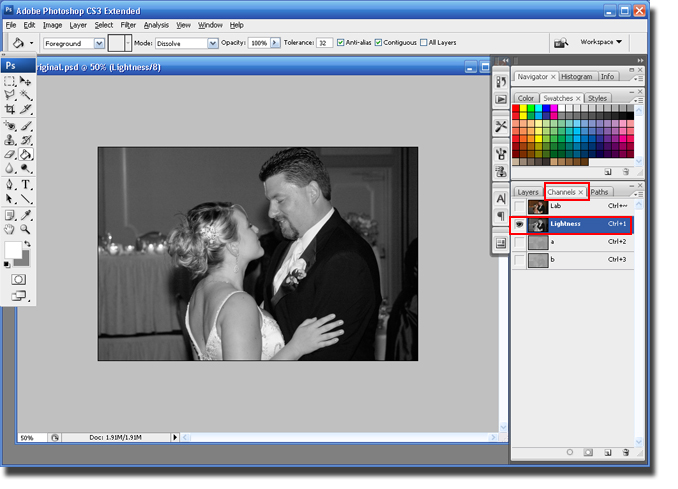
Step 2 Select the Channels tab in the Layer Pallet. Highlight the Lightness Layer and Select (Ctrl + A) and Cut (Ctrl + C) the layer.
Step 3 Change the Mode back to RGB Image > Mode > RGB.
Step 4 Create a Layer by clicking on the New Layer icon in the layers pallet. Then paste the Lightness layer on the new layer (Cntl + V).
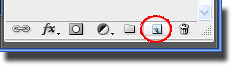
Step 5 Create a Levels Adjustment layer by clicking on the New Adjustment Layer icon and selecting Levels.
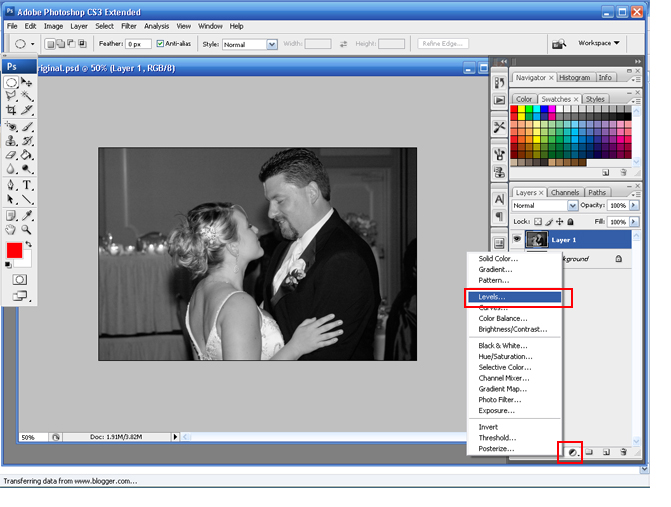
Step 6 You can play around with the settings a little. I just changed the first box to 42. Click Ok when you are happy with the results.
Step 7 Duplicate the layer three times by hitting Ctrl + Alt + Shift + E three times. You will now have three new layers.
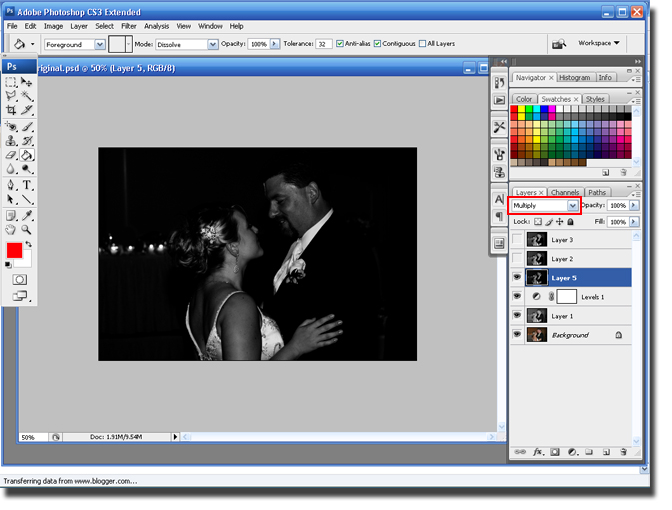
Step 8 Click on the Eye Icon next to the top two layers. Highlight the third layer from the top and change the blend mode to Multiply. The picture will look really dark, but don't worry we will lighten it with the next two steps.
Step 9 Click on the Eye Icon next to the second from the top layer (to turn it back on). Highlight the second layer from the top and change the blend mode to Screen.

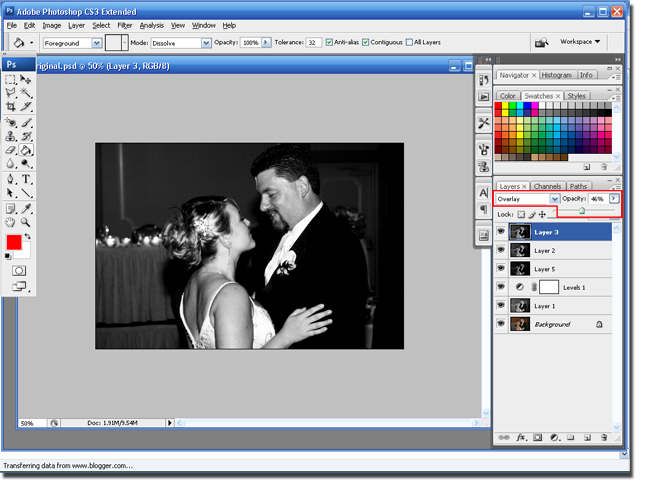
Step 10 Click on the Eye Icon next to the top layer (to turn it back on). Highlight the top layer and change the blend mode to Overlay. If you find the effect to strong try lowering the Opacity.
Try playing around with the blending options until you find the effect that you like. Here is my finished picture.
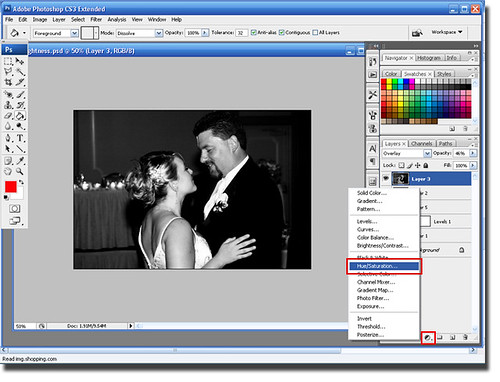
Step 11 Adding a little color to the picture will make it a little warmer and give it some more depth. Select the New Adjustments icon in the layers pallet and select Hue/Saturation.
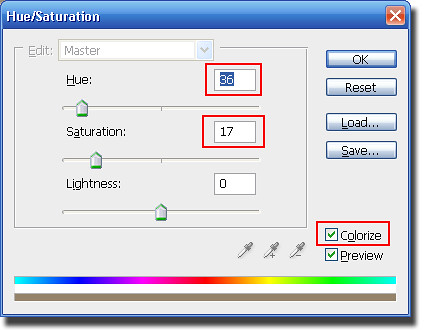
Step 12 Check the Colorization box and play with the Hue and Saturation settings until you are happy with the result. Click Ok to save the settings. Here are my setting
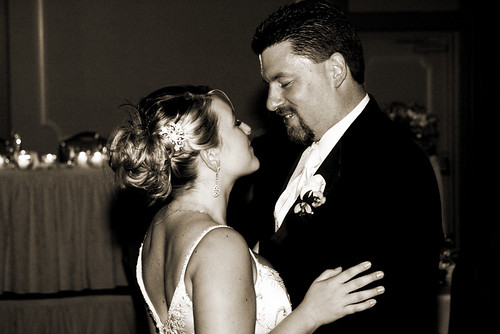
Here is what we have so far:
I wanted to make my photo a little more romantic so I decided to add a glow to the picture.
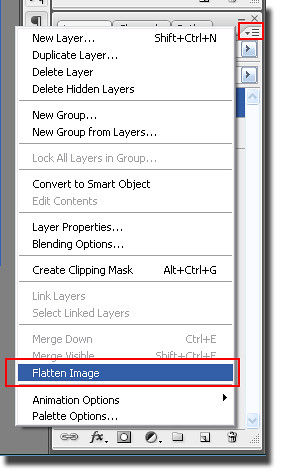
Step 13 Flatten the image by click on the arrow in the layers pallet and selecting Flatten Image. The duplicate the layer by hitting Ctrl + J.
Step 14 Add a Gaussian blur by going to: Filter > Blur > Gaussian Blur. Change the blur to something that makes the picture pretty blurry, I have a big picture so I used 10.
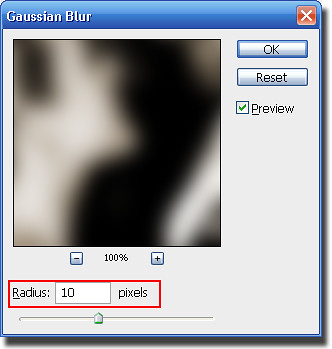
The picture is going to look really blurry, but don't worry we will fix it in the next step.
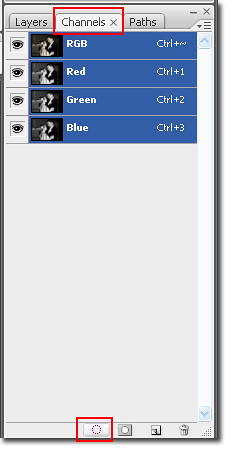
Step 15 Select Channels in the Layer Pallet and select the Load Selection button. You will see the 'marching ants' in parts of your picture.
Step 16 Go back to the Layers and hit Ctrl + J. This will create a new layer with only the selected area. Click on the Eye Ball icon next to the second from the top layer (the one with the Gaussian Blur)
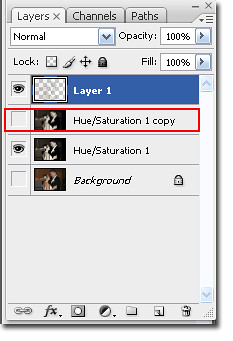
Your image will have the Gaussian Blur only where the there is a lot of light. This allows your picture to have a really dreamy look. If the effect is to strong for you then lower the opacity of the top layer.

So here you have some different ways to convert a picture to black and white. I hope you enjoyed the tutorial and found it useful.
Big Hugs,
BriannaNichole!
No comments:
Post a Comment