
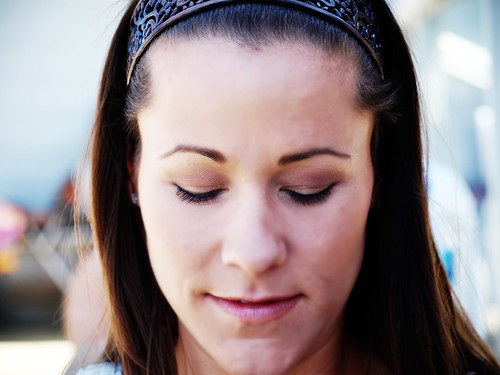
In this tutorial I am going to show you have to remove blemishes, winkles and other skin imperfections and then how to give the skin a nice soft glow without effecting the sharpness of the whole picture.
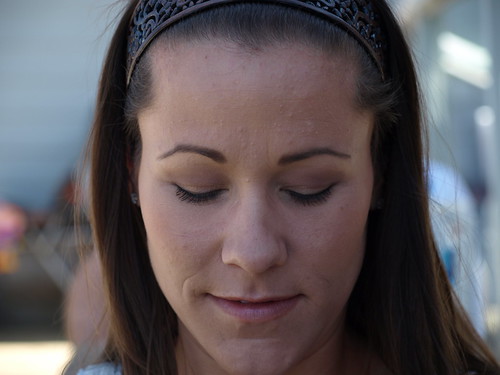
Denielle, please do not get mad that I am using your picture!!!
If you find the first steps too hard just skip to step 5.
Step 1 Open the photo you want to edit in Photoshop, and the duplicate the background layer: Ctrl + J.
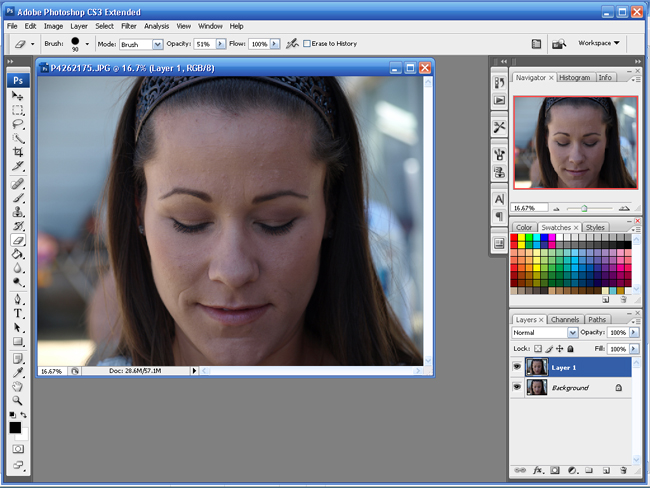
Step 2 Magnify the picture (Ctrl + +) so you can see all the imperfections.
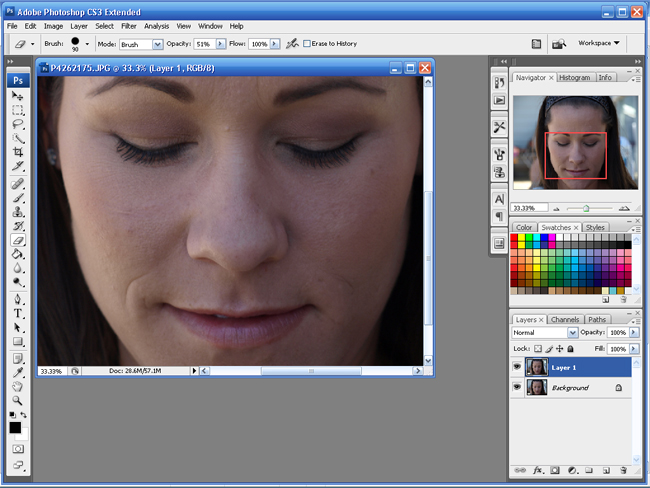
Step 3 Select the Clone Stamp tool. This tool will allow us to pick a spot on the picture that does not have the flaw, then place it over the flaw. Since we are working on skin we want it to match, so find a spot right next to it and use that.

Step 4 In this case I want to remove the line left in her face by her sunglasses. You are going to hold down the Alt key and use the Mouse left-click to select the area you want to copy. Then click, on the canvas, where you want fix the image. You may have to play around with this get the results you want. Be careful when working around the eye, you don't want to fix it so much that you make the person look fake.
Step 5 Duplicate the top layer (the one we made all the edits to): Ctrl + J. Add a Gaussian Blue: Filter > Blur > Gaussian Blur.
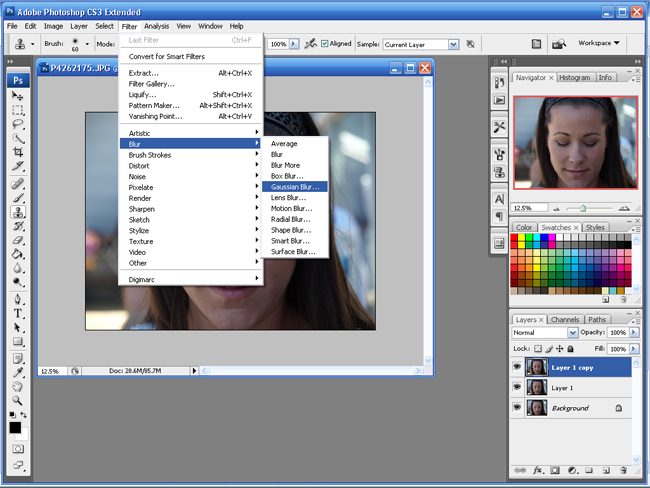
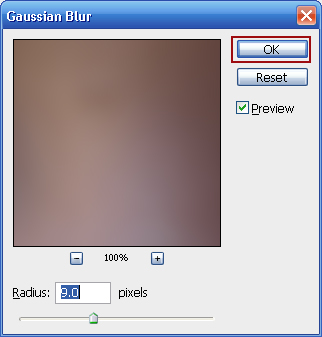
Step 6 The size of your photo will determine the amount of blur you are going to use. You want it blurry but not too blurry that everything is distorted. I am going to use 9 pixels. Click Ok to apply the blur.
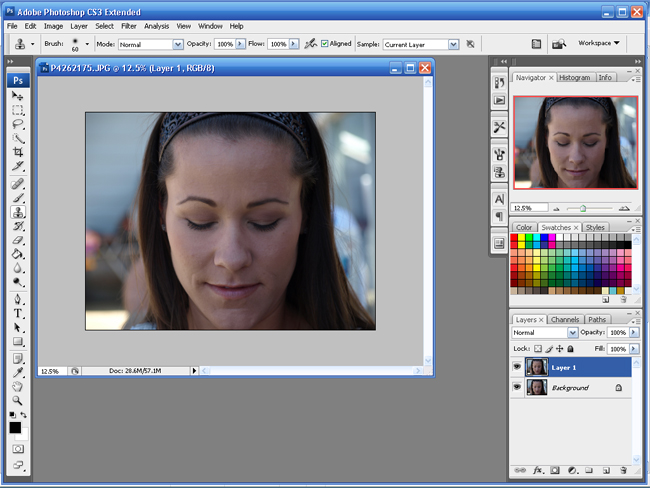
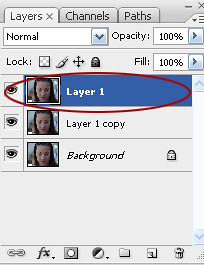
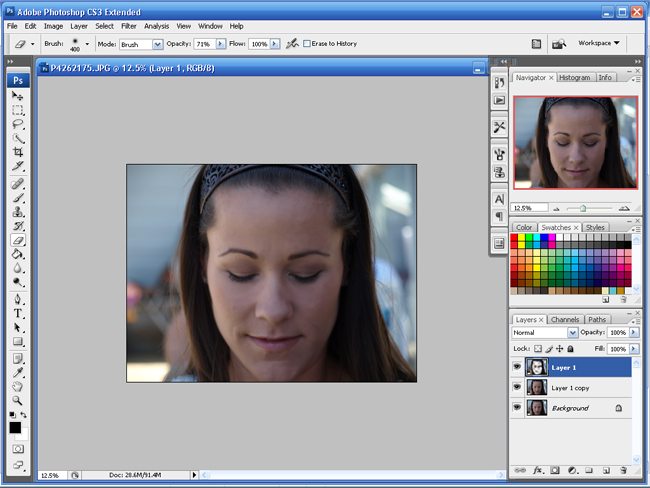
Step 7 In the Layers pallet; highlight the second from the top layer (Layer 1) and drag it above the top layer (Layer 1 Copy). So Layer 1 will now be the top layer.
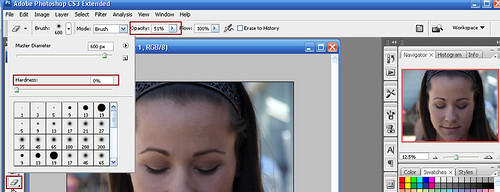
Step 8 Select the Eraser Tool. Change the Hardness to 0% and the Opacity around 50%. You can change the size of the eraser by holding down the Ctrl key and hitting the the ] or [keys.
Step 9 Erase the skin on the picture. This will erase the top layer so the Blur layer starts to show through. The more you erase the more the blur effect will be. Stay away from the eyes, you want to keep them sharp and clear.
You are finished! Try adding some layers and changing the blending modes, or adjusting the curves, to add some fishing touches.
I added a slight Vignette, Screen Layer and adjusted the curves a little.
Happy Friday,
BriannaNichole!
2 comments:
Thanks for posting these tips. They are great!
Duuuuude - next time use your own picture and you don't have to apologize!
Post a Comment