
I guess this type of photography is called Lomo photography and you can get this same effect by using photoshop. There are a couple different ways that you can achieve this effect, however I am just going to show you my favorite way. It is also the easiest way IMO.
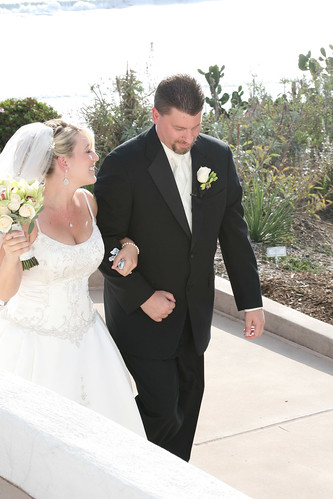
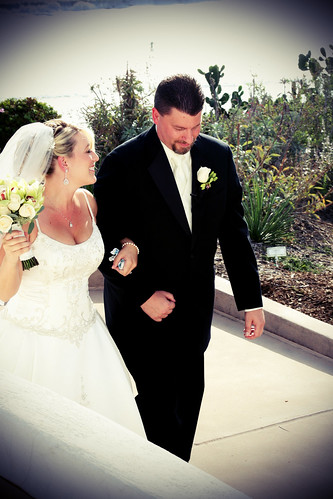
Like always I am going to use my of my wedding photos to create the effect. Here is my original photo:
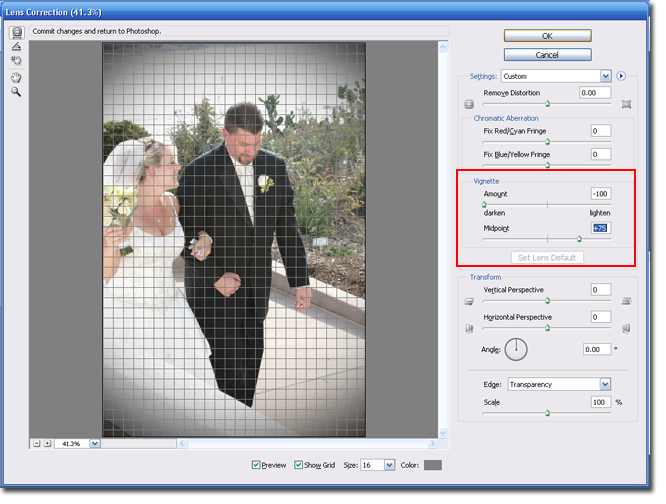
The first step is to create the Vignette, this is the blackness around the edges that is standard for Lomo photography. If you don't like this effect you can always skip this step. You will need to have Photoshop CS3 or CS2 to create this effect using my steps. If you have an older version of Photoshop you can create a Vignette.
Step 1 Open the file you wish to edit. Go to Filter > Distort > Lens Correction.

Step 2 Under the Vignette section change the Amount and the Midpoint. Play around with the settings until you are happy with the result. Click Ok when you are finished.
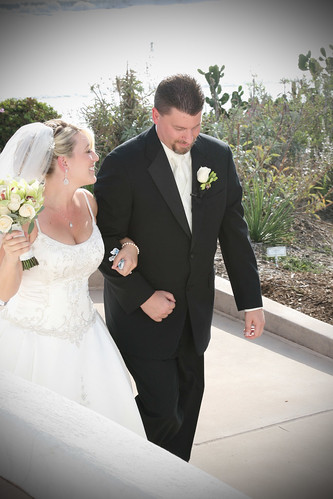
Here is my photo with just the Vignette:
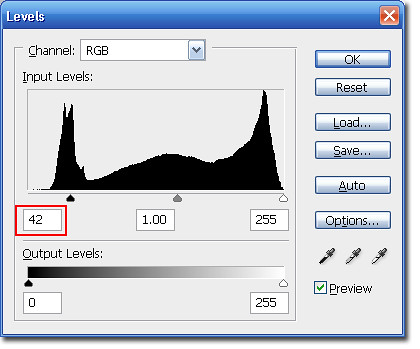
My picture doesn't have much contrast so I am going to boost it up a bit to give the picture some more depth. Skip step 3 if you are happy with your picture.
Step 3 Hit Ctrl + L to bring up the Levels adjustment menu. Enter 42 into the first box. If that is to dark for you either skip this step or lower the number. Click Ok when you are finished.
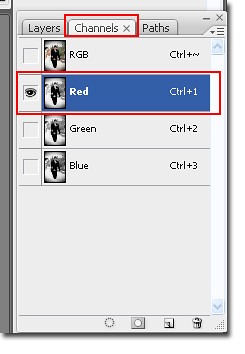
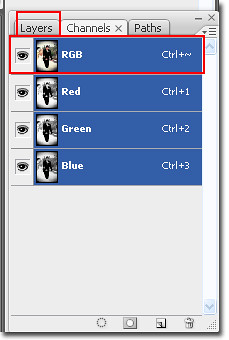
Step 4 In the layers pallet select the Channels tab. Highlight the Red Layer by clicking on it once.
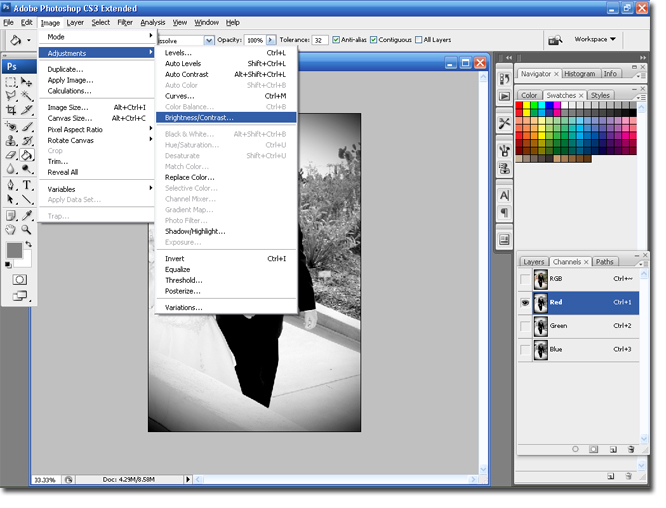
Step 5 Go to Image > Adjustments > Brightness/Contrast.
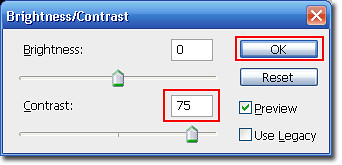
Step 6 Change the Contrast to 50. I used 75, because my image was kinda washed out, but this effect may be too strong for your image. Click Ok when you are finished.
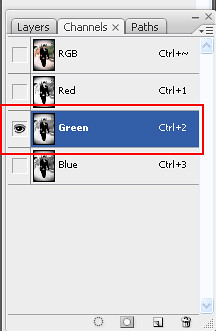
Step 7 Select the Green layer and follow the same Step 5 & 6, like we did for the Red layer. Make sure to use the same setting as you did for the Red layer, or the picture will look funky.
Step 8 Highlight the RGB layer by clicking on it once, and then select the Layers tab.
There you have it, the Lomo photography effect. Here is my finished image.
If you want the effect to look a little washed out you can always adjust the Hue/Saturation setting or play around with the filters. I hope you enjoyed the tutorial.
Kisses,
BriannaNichole!
2 comments:
Is Lomo photography related at all to the Lomo cameras?
this is so helpful! thank you for posting the info; i'm going to play now!
Post a Comment