For those of you not hip to the online lingo: Waking up @ 8:00 is
So Not The Way To Go. I picked that little one after my oh so cool
nestie bestie Cat.
But seriously, 8:00am after 5 odd glasses of wine Ugh! I do feel a
little worse for the wear this morning, but I had an amazing time last night, even if my hubs did bail on me. I
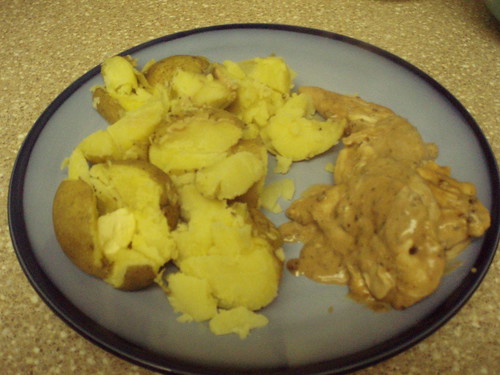
attend the Wine Tasting And Fondue party to
benefit the Leukemia & Lymphoma society. Not only did I get to drink wine for charity, I also got to dip things in cheese and chocolate.......
holla! My
fav things in one place. I also got myself a fancy
smancy prize in the
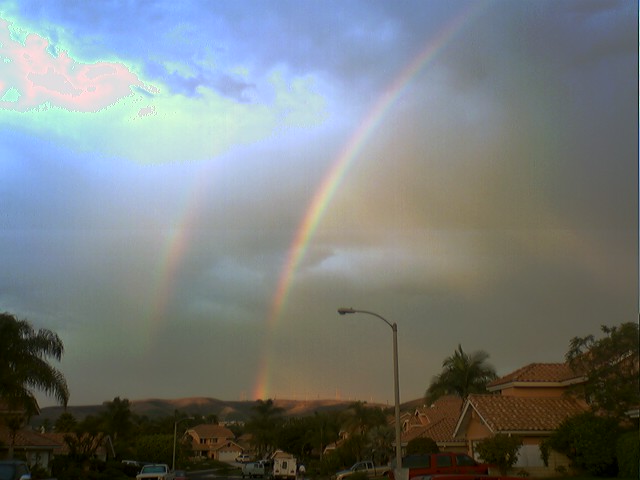
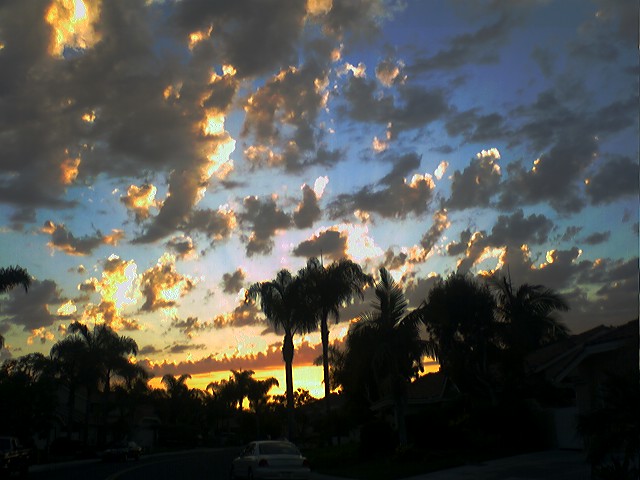
raffle. All in all it was a great night filled with wine, fun, food, great conversation all for a really great cause. I hope we can do another event soon. Here are some of the pictures. If you didn't go you really missed out. So my digital
camera pretty much sucks, but you are
ok if you are taking pictures outside in the say time. If you want to take night time pics you are SOL.
Ok, that is my disclaimer before you enjoy the pictures.
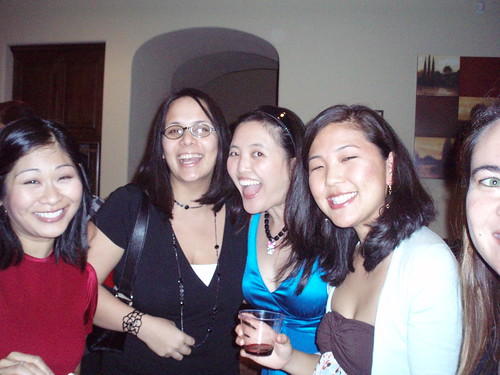
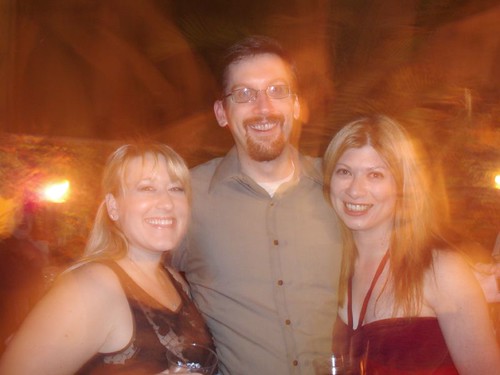
Some of our LA
bestie nesties made it out for the event. We were so happy they were able to come down and join us.
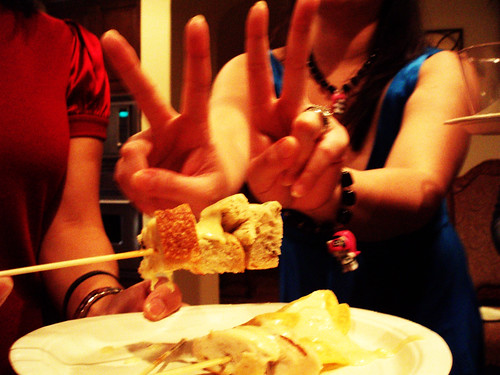
Sharon's bunny ears next to some super tasty fondue.

A big thanks to Robert, Cat's man, for making all the fondue. He can really stir that cheese.
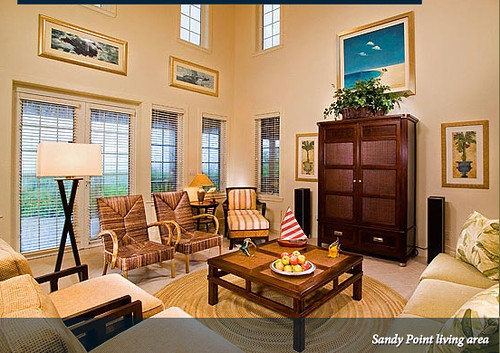
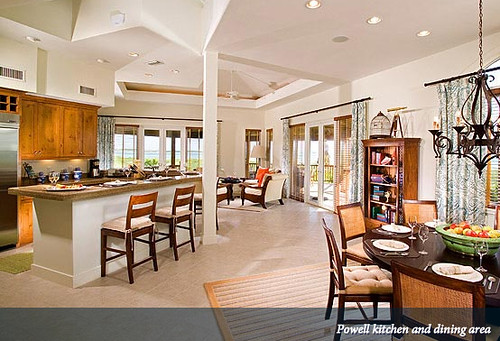
A big fat thanks to Cat and Robert for hosting the even at their super sweet pad.
Not sure where Cat was
lookin in this pic.
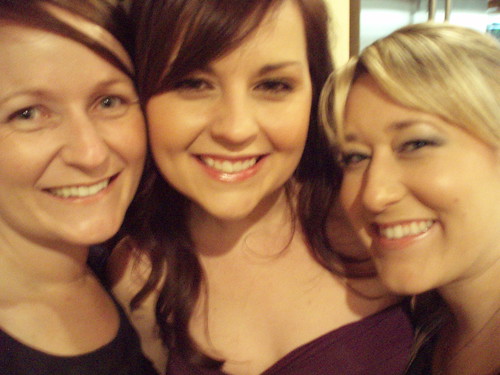
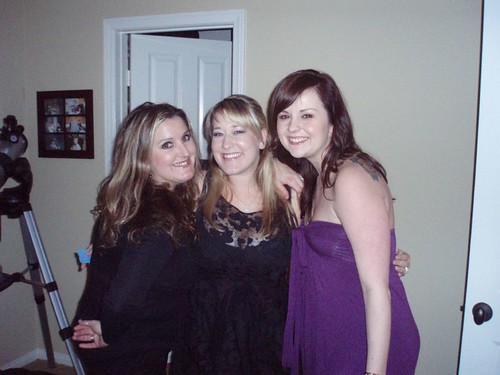
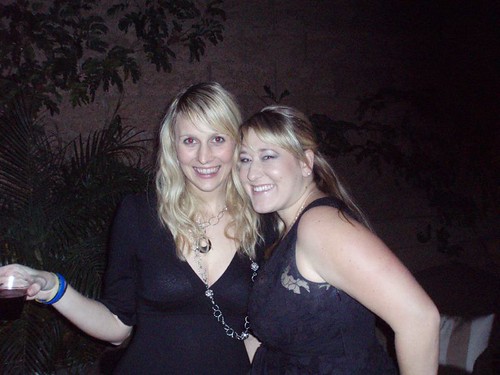
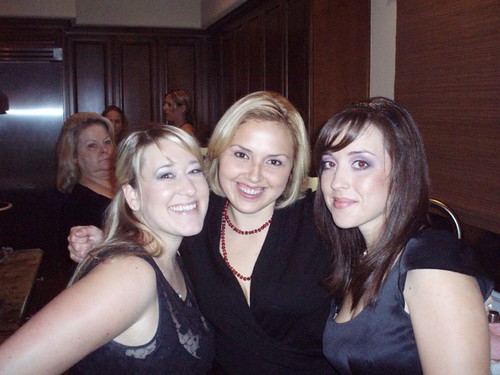
Rachel,
Steph and I.

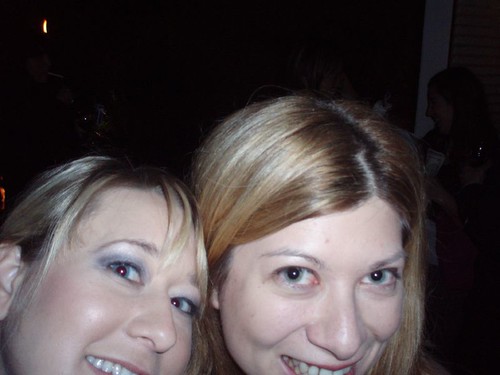
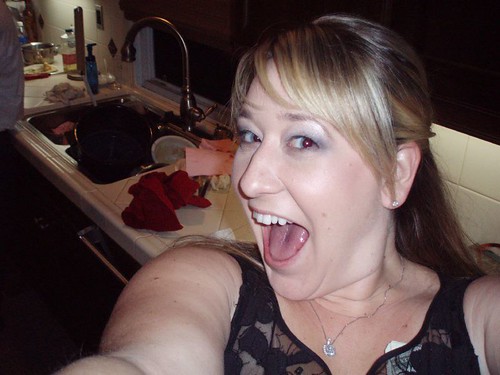
I have to say I am the queen of taking my own pictures. For some reason I like the way they come out, maybe its the angle. Whatever it is I sure took a lot last night. Some worked, and some well not so much.
This one was a about 4 glasses of wine in.
 Ummm
Ummm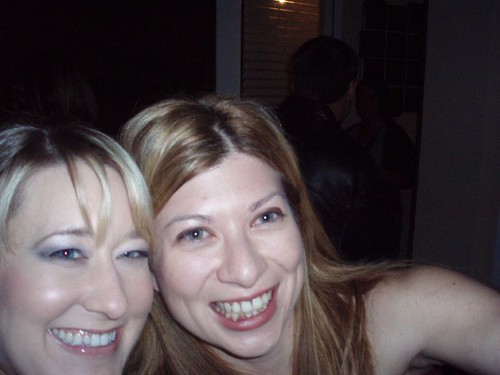 Ahhh
Ahhh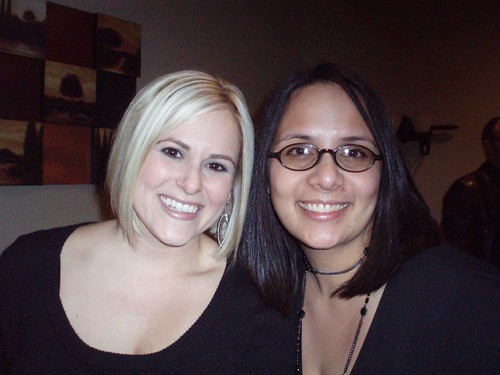
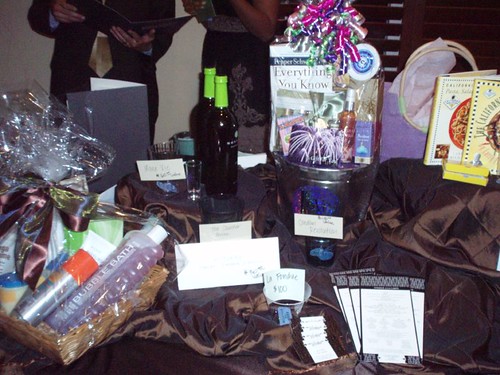
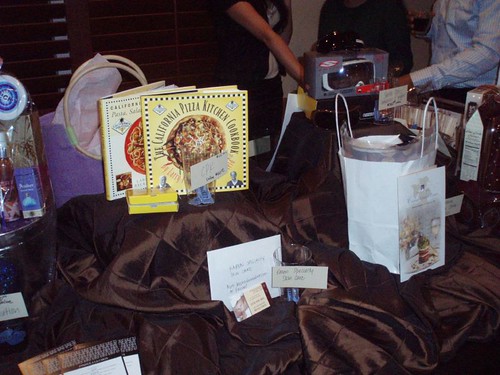
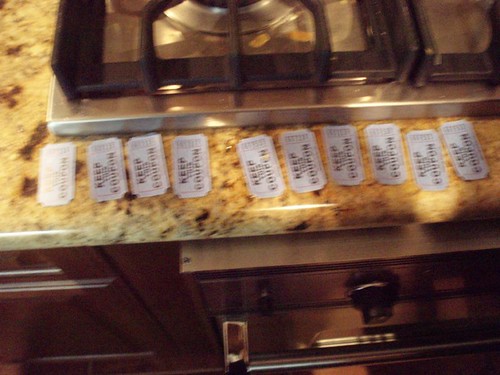
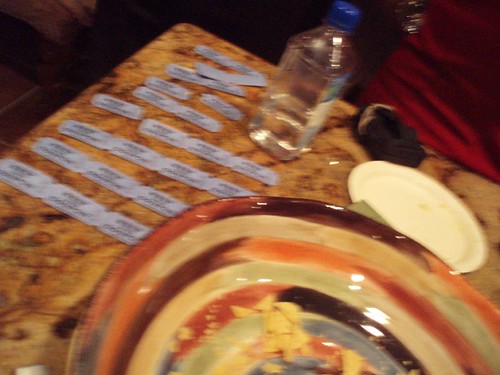
First half of the
raffle prizes. There was so really cool stuff there. They did the
raffle in a pretty cool way. There were cups next to each prize and you stuck the tickets only into the one you wanted. I thought it was cool because you were sure to get what you wanted.
Second half of the table.
The very pretty Jennifer and Rachel standing with me.
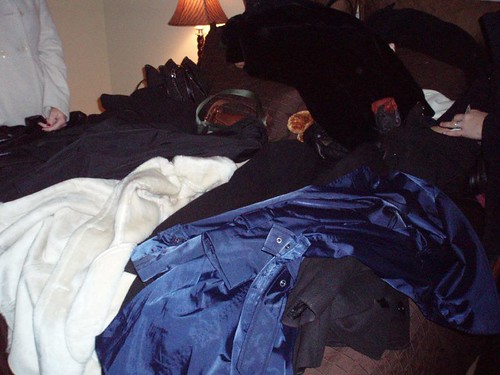
The purse and coat bed.
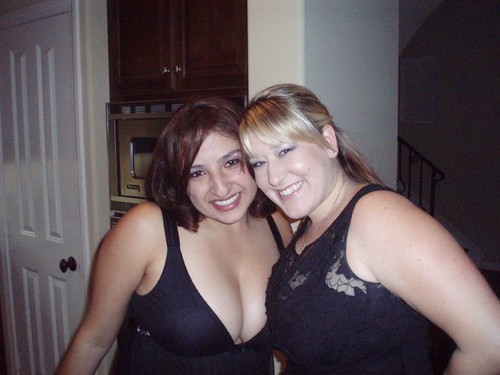
Usually it is my own boobs glaring at me from each picture, this time it was Mrs.50%'s turn.
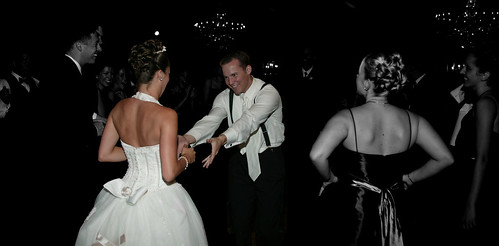
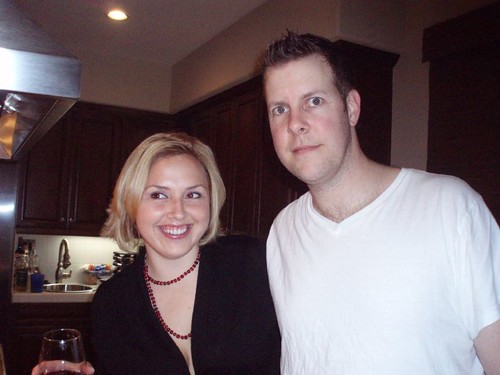
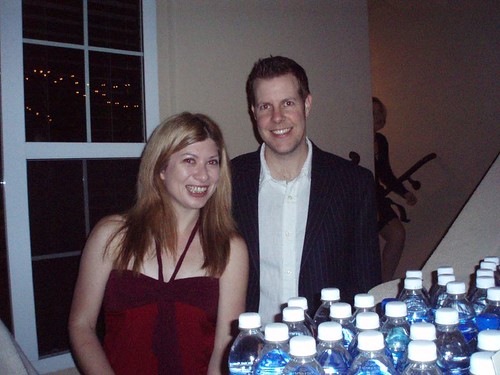
It took me a few times to get Kate & her hubs picture just right.
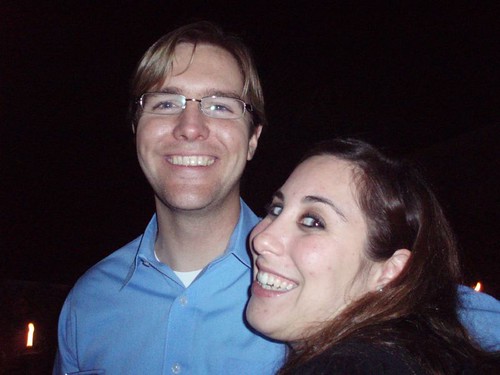
One....
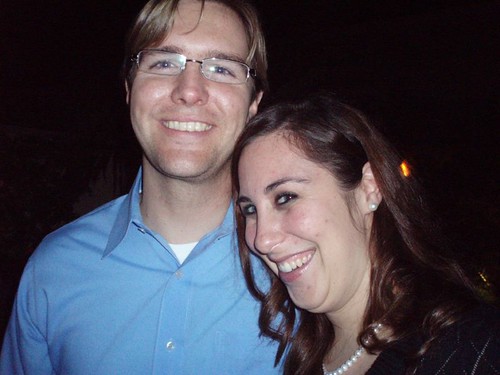
Two....
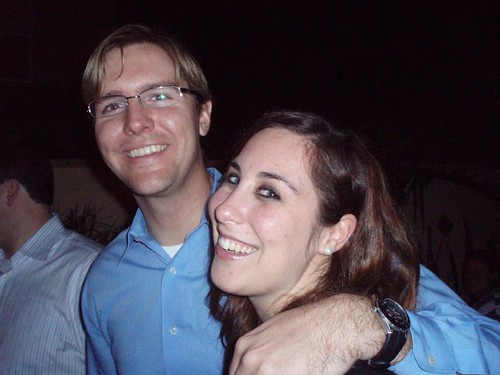
Three...
I think I like three best, what say you?
This is what you get when you try night portrait on my camera :(.

Some of my
fav neighbors. Thanks for the ride home Tim!!
Its sad that Jessica actually made herself shorter in this picture and she still is towering over me and my 4 inch heels. Maybe I'll get taller when I grow up.
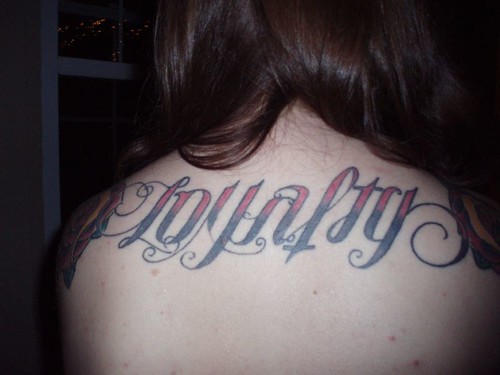
Rachel's super cool
tattoo. It says Loyalty and Betrayal upside down.
Some girls just look so cute with
tattoos.
 Ahhh
Ahhh the
fire pit was the best.
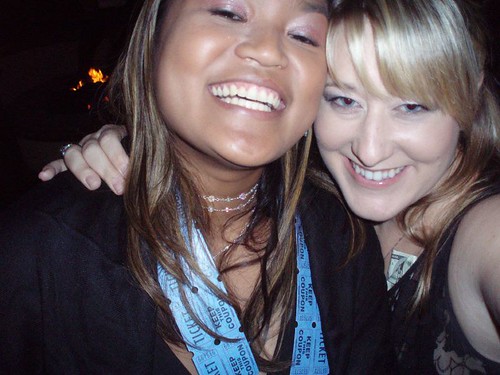
This has got to be the best picture of the night! I love me some Kim.
Especially now that she is
within spitting distance from me.
Claire
gettin some picture time with Cat's hubby.
Cat, Andrea (
USCGirl) and I.
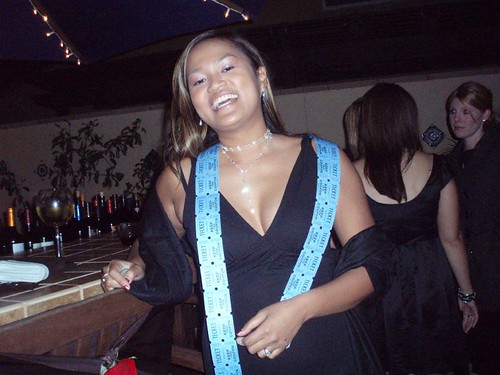
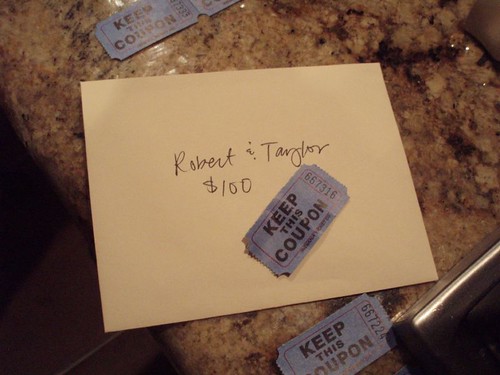
Raffel Time!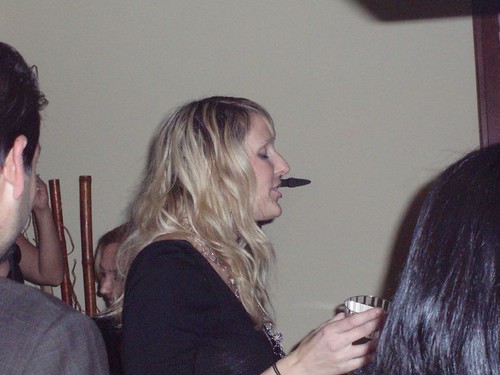
Jessica did such a great job announcing all the prizes. She def. has the voice for it.
My blurry tickets. A big special thanks to Andrea's hubby for checking my tickets for me. You're my hero :)
 YAY
YAY I won!! I had to take a quick snap as I went up the claim my prize.
I was so so so so so happy to get the gift
certificate to the hair salon. I am in some need of some highlights. Plus now I get to try a new place.
All of
MBOC's tickets. No wonder she won a crap load of stuff.
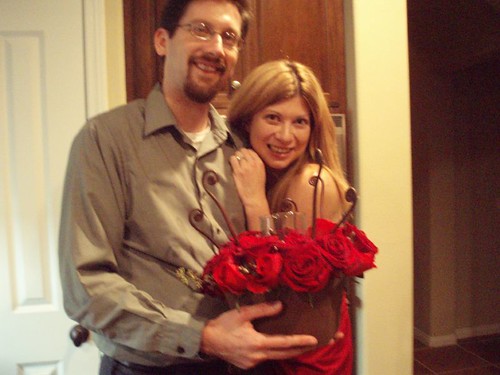
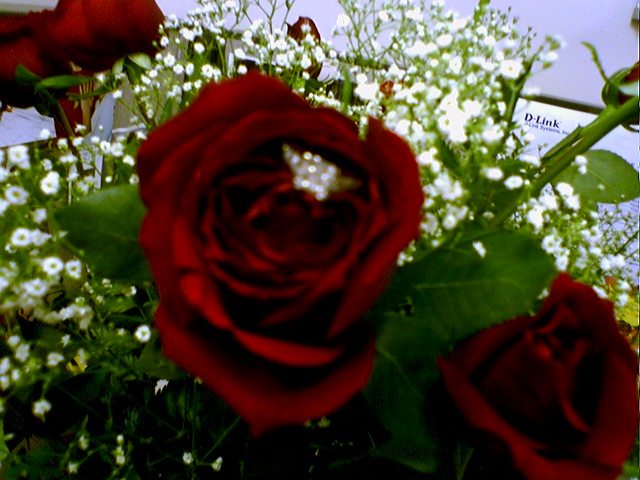
They also
raffled the beautiful flower
arrangements from
Flower Allie.
Thanks everyone for making the evening so much fun. Good luck to all the marathon ladies.
Hugs,
BriannaNichole